EmpCenter will allow time off requests to be made up to 365 days from the current date. The system will display your projected bank accruals; however, you are responsible for ensuring you still have the time available when the leave occurs.
When a time off request is approved, EmpCenter will add the leave type and hours to your timesheet for the dates requested.
-
Select My Time Off under Schedules on the Employee Dashboard:

Reminder: your dashboard may look different from above based on your policy profile and role. -
On the My Time Off screen, select Create New Request:
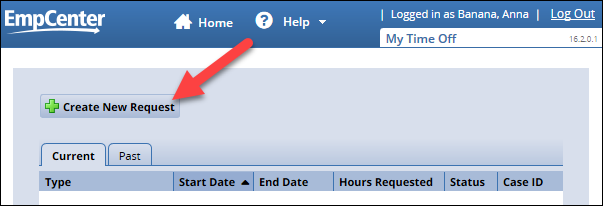
Note: any upcoming time off requests will be listed on the Current tab; past requests can be viewed on the Past tab.
-
Select Continue under Absences for Vacation, Sick, and Other:
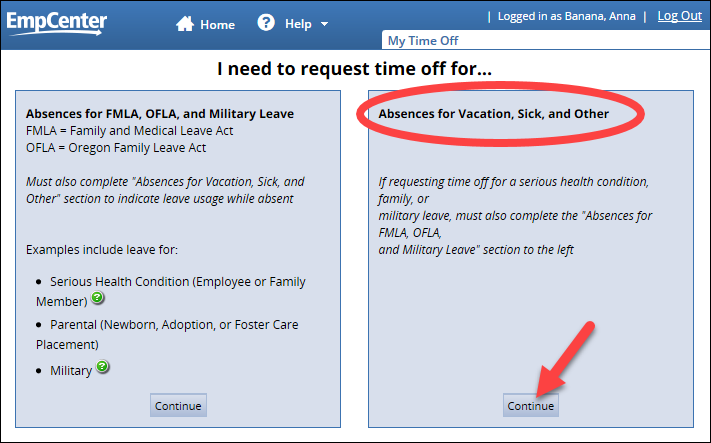
For additional information on protected leave absences (FMLA, OFLA, and Military), see the Protected Leave User Guide on the Training page.
-
If you have more than one assignment, or job, you will first need to select the assignment you are requesting time off for. The time off request will be sent to the supervisor for that assignment:

Note: if you only have one assignment, you will be immediately directed to the time off request page (step 5) and you will not see assignment listed on the request list page.
-
Select the pay code from the drop down list:
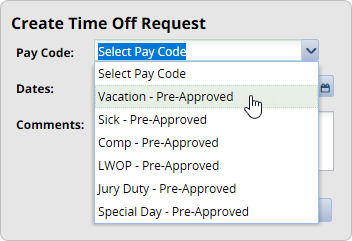
Note: the Pay Codes available depend on your EmpCenter Policy Profile. If you do not select a pay code at this step, EmpCenter will allow you to continue with the request, but you will not be able to submit the request until you select a pay code at step 8 below.
-
Select the start and end dates for your leave request – either type in the dates or use the calendar icon; if you are only taking a partial day, you can change the number of hours in the next step:

-
Add comments if needed then click Next:
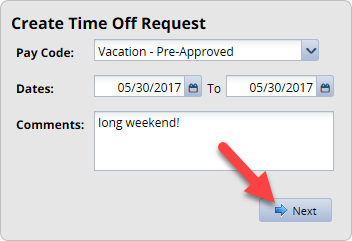
Note: if taking a partial day, be sure to include the time in the comments (e.g. “Doctor appointment, need to take time off from 3pm-5pm.”)
If you need to add an attachment to the request, see the Add Attachment FAQ for instructions.
-
On the Request Details page, make any changes to pay codes or hours and add additional comments, if needed:

Note: the hours listed are determined by your FTE (full-time equivalency), the number of hours you normally work, unless you are set up on a schedule; with a schedule the hours scheduled for the day will default into the request.
-
Once you have made all necessary changes, click Submit to send the request to your supervisor for review:

-
Click OK to return to the Request List page:
-
On the Request list page, you’ll see confirmation that the request was submitted. The request will be listed with a Status of Pending until your supervisor approves or rejects the request:
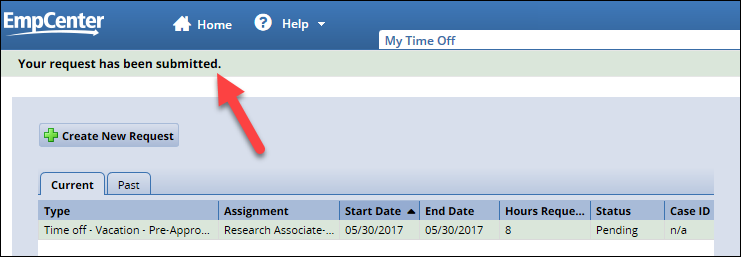
Note: you will receive an email from EmpCenter once your supervisor reviews the request.